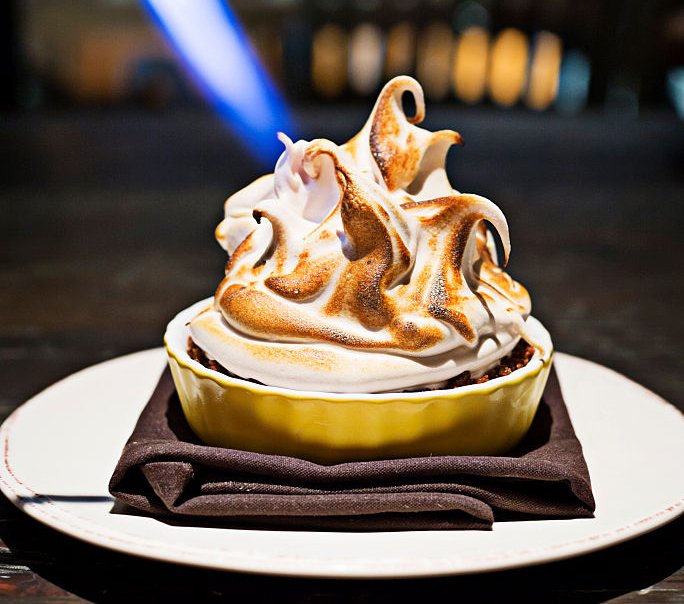
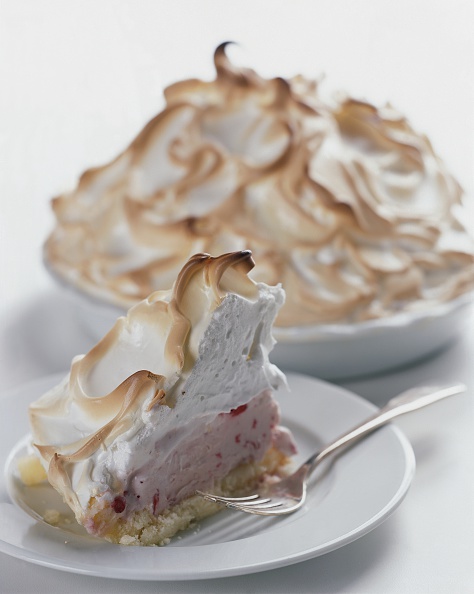
Baked Alaska - photo courtesy Bernzomatic Blowtorches
If entertaining and dining means not only homegrown, seasonal, and delicious -- but also a bit of theater - then today is your day -- it’s National Baked Alaska Day!
This fire and ice dessert never fails to add drama to the meal; sure to elicit gasps of delight - and applause - from your guests.
That this elegant dessert is oh-so-easy to make - is a behind the stage secret. You can prepare this confection ahead and place in the freezer until ready to serve.
Baked Alaska Recipe
Prep: approximately 45 min
Cook: 4 min
Yield:12 servings
Ingredients
For the Ice Cream Cake:
Vegetable oil, for brushing
1 pint raspberry, passion fruit or other sorbet, softened.
1 pint vanilla ice cream, softened
1 quart chocolate ice cream, softened
1 cup chocolate wafer crumbs (about 17 crushed wafers)
1 loaf pound cake
For the Meringue:
1 cup egg whites (about 6 large), at room temperature
Pinch of cream of tartar
1 cup sugar
Directions:
Make the ice cream cake: Brush a 3-quart metal bowl with vegetable oil; line with plastic wrap. Fill the bowl with scoops of the sorbet, vanilla ice cream and half of the chocolate ice cream, alternating small and large scoops to create a mosaic of colors and shapes. Place a piece of plastic wrap on top of the ice cream; press down to close the gaps between scoops and even out the surface. Remove the plastic wrap, sprinkle the ice cream with the wafer crumbs and re-cover with the plastic wrap, pressing gently. Freeze until set, about 30 minutes.
Remove the wrap and spread the remaining chocolate ice cream in an even layer on top of the crumbs. Cut the pound cake into 1/2-inch-thick slices; completely cover the ice cream with the slices, trimming as needed (you'll use about two-thirds of the cake). Cover with fresh plastic wrap and freeze until firm, at least 2 hours or up to 2 days.
Make the meringue: Whip the egg whites and cream of tartar in a large bowl with a mixer on medium-high speed until foamy, about 2 minutes. Gradually beat in the sugar on high speed until the whites are glossy and hold stiff peaks.
Remove the top layer of plastic wrap, then invert the cake onto a parchment-lined baking sheet. (If necessary, let the cake stand overturned until it slips out.)
Remove the rest of the plastic wrap and cover the ice cream completely with the meringue, making the dome-shaped top slightly thicker than the sides. Form swirly peaks in the meringue using the back of a spoon. Freeze for at least 3 more hours.
Preheat the oven to 500 degrees. Bake the cake until the meringue peaks are golden, about 4 minutes, or brown the meringue with a blowtorch. Let the cake soften at room temperature for 5 to 10 minutes before slicing. Freeze any leftovers.
Recipe courtesy of
Food Network Baked Alaska recipe (with permission Food Network Magazine)
* I make homemade ice cream -- flavors are limited only by imagination. Vanilla with fresh beans is my go-to fancy - but I’ve also made corn ice cream to rave reviews. Try avocado (just experienced this delight while working the gardens at
Hacienda Cusin in Ecuador!).
For upcoming Valentine’s Day or for Lunar New Year - try cherry, raspberry, or strawberry or Cotton Candy ice cream, or celebrate Lunar New Year’s homage to all things citrus with orange, kumquat or lemon, paired with Red Velvet Cake or go nutty with Almond cake.
* Feel free to add more cream of tartar if you need to bring the meringue to stiffer peaks.
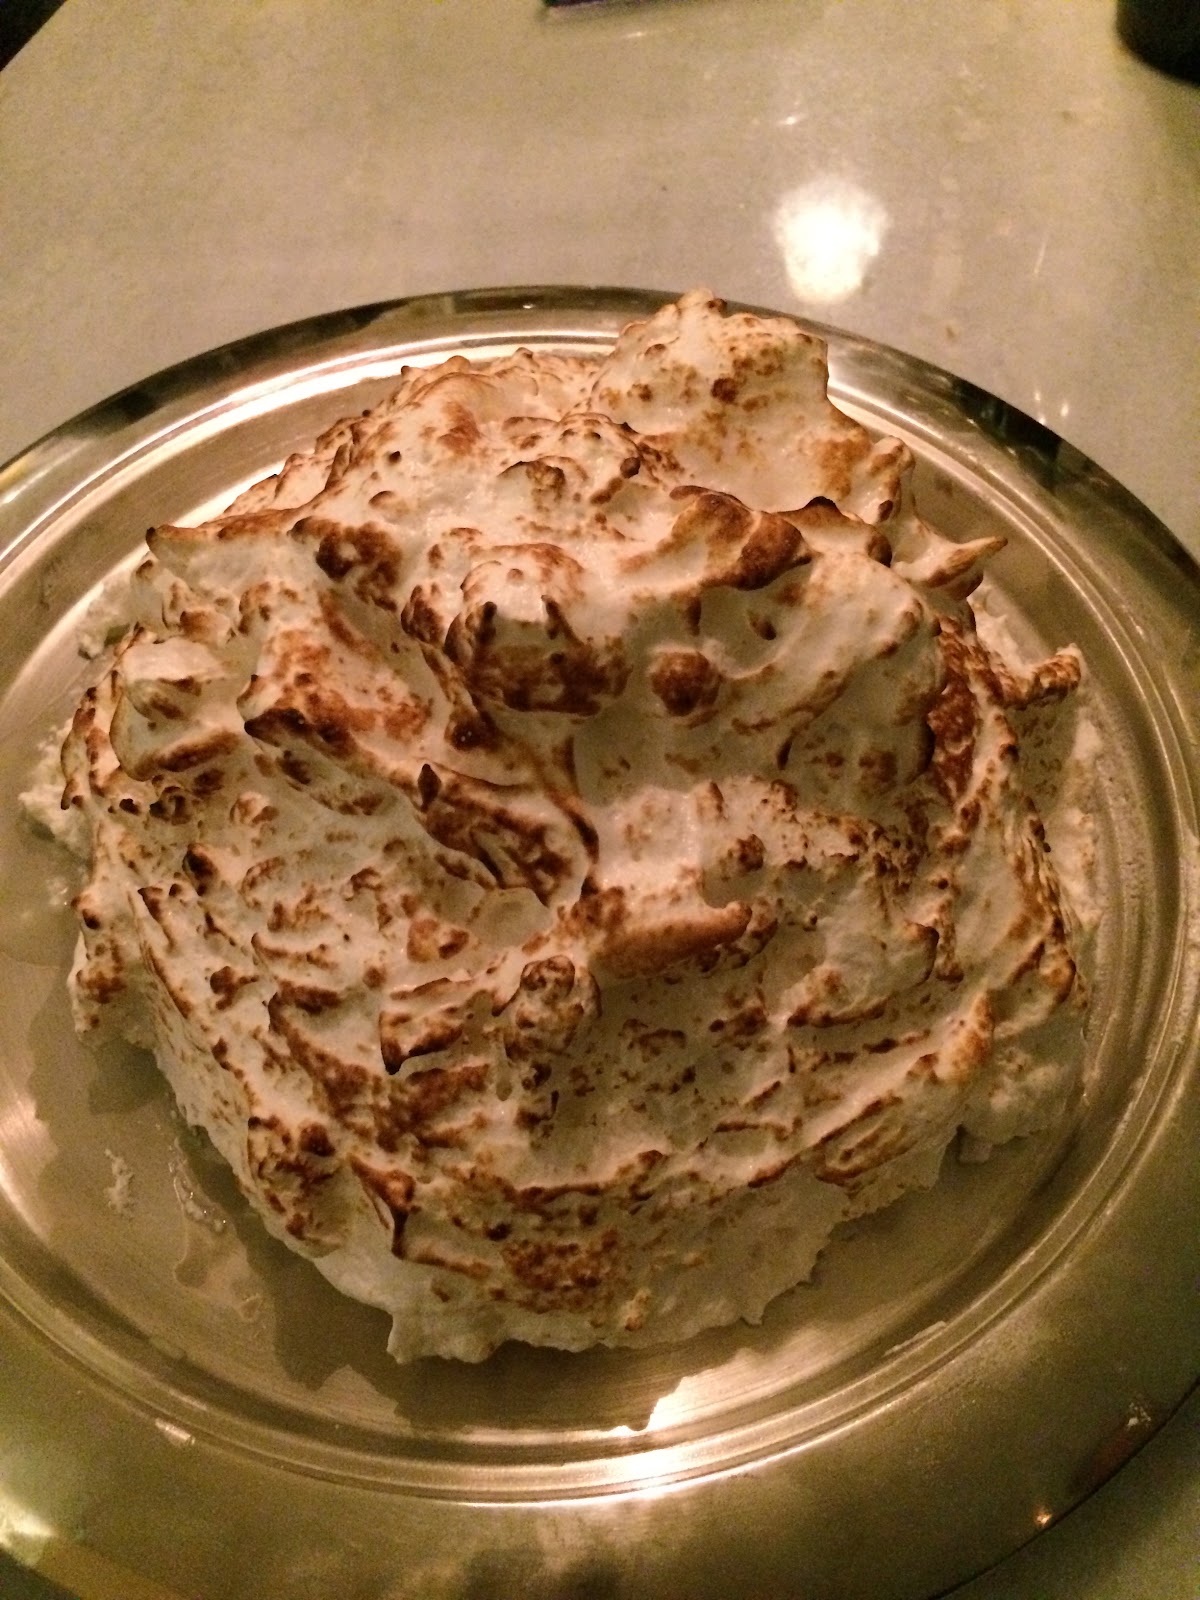
To brown or “bake” the dessert without fretting that you’ll melt the ice cream, use a torch rather than baking in the oven -- you’ll be able to more readily and evenly brown the dessert.
Bernzomatic Blowtorches are ideal -- the best one for the job is the Bernzomatic TS4000, according to company reps. The Bernzomatic is a torch that you buy from a hardware store or online via Amazon or Home Depot. Soon, you’ll find dozens of uses in the kitchen, including searing steaks, fish, crisping vegetables, crème brulee, and more.
Chef Michael Ferraro from NYC’s Delicatessen restaurant shows how easy it is to torch meringue in this video: (courtesy of Bernzomatic and Chef Michael)
The Bernzomatic is infinitely easier to use than the canister model I used - with the help of my husband, Bill, to brown the meringue.
You’ll feel so empowered, you’ll be torching and searing all kinds of foods - and cocktails and their Finishing Touches garnishes - to great applause!
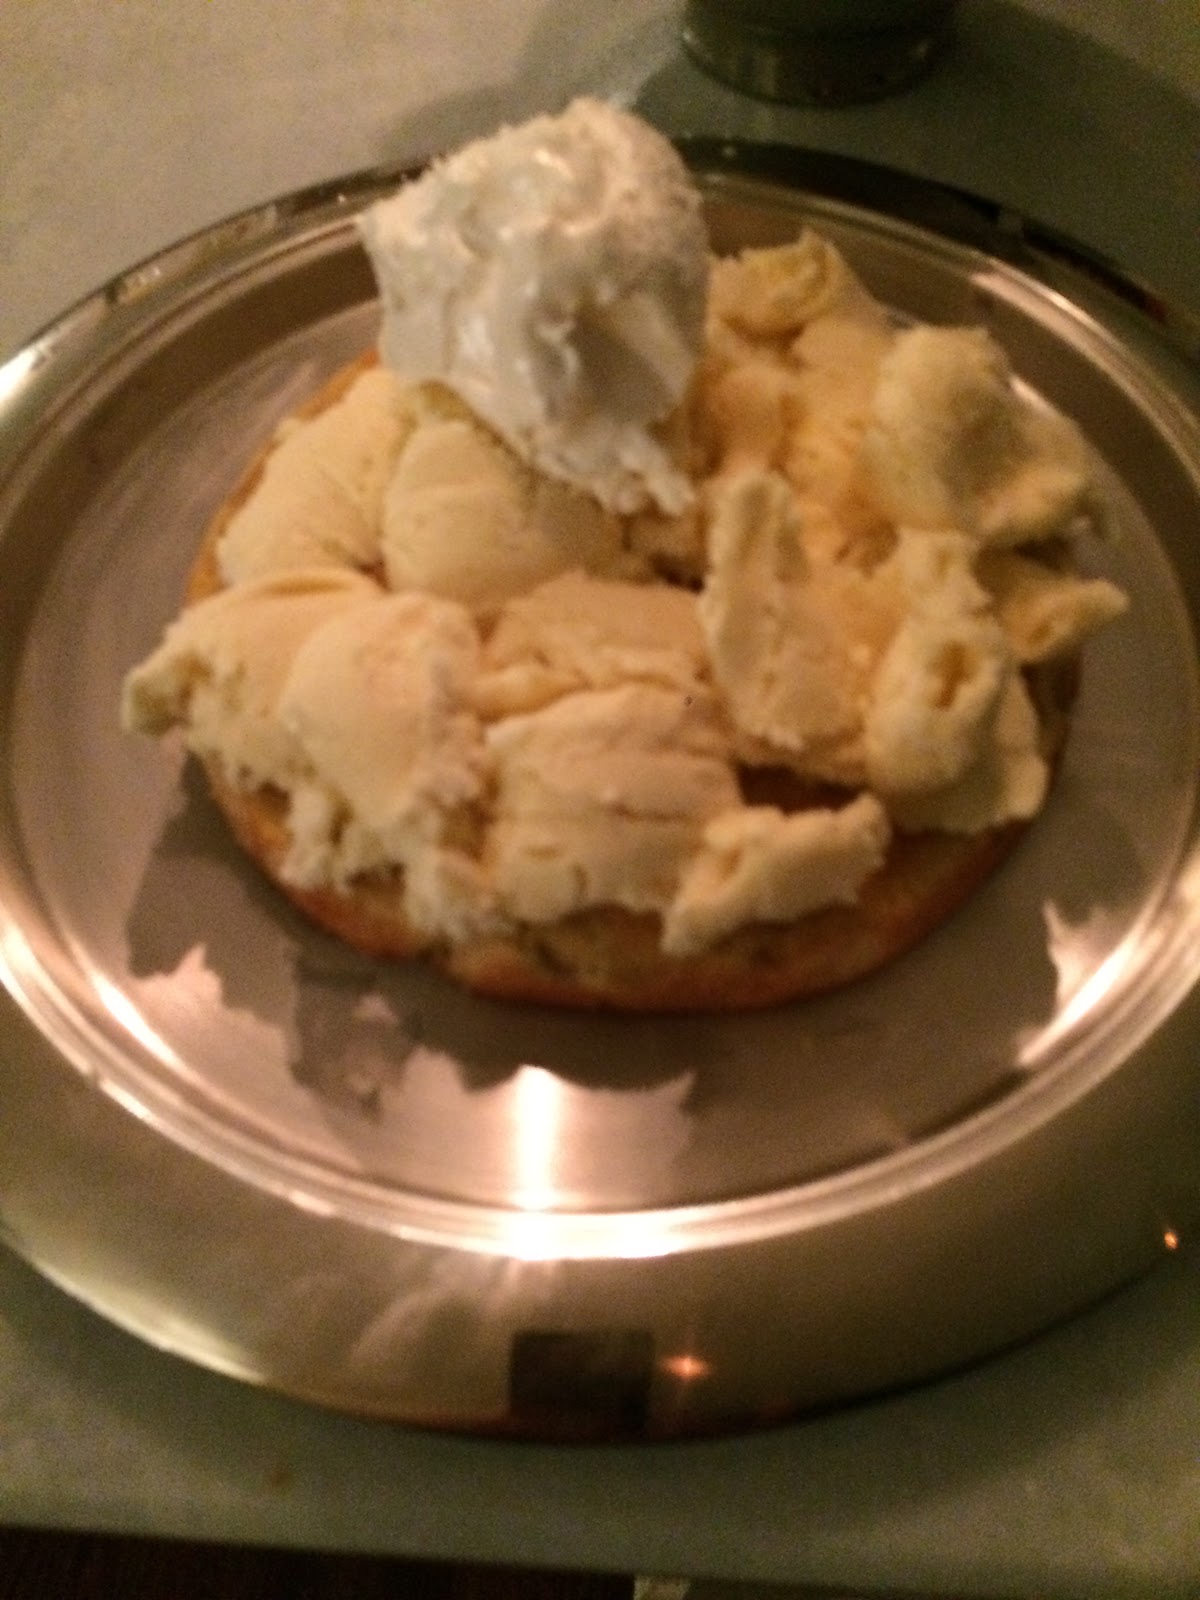
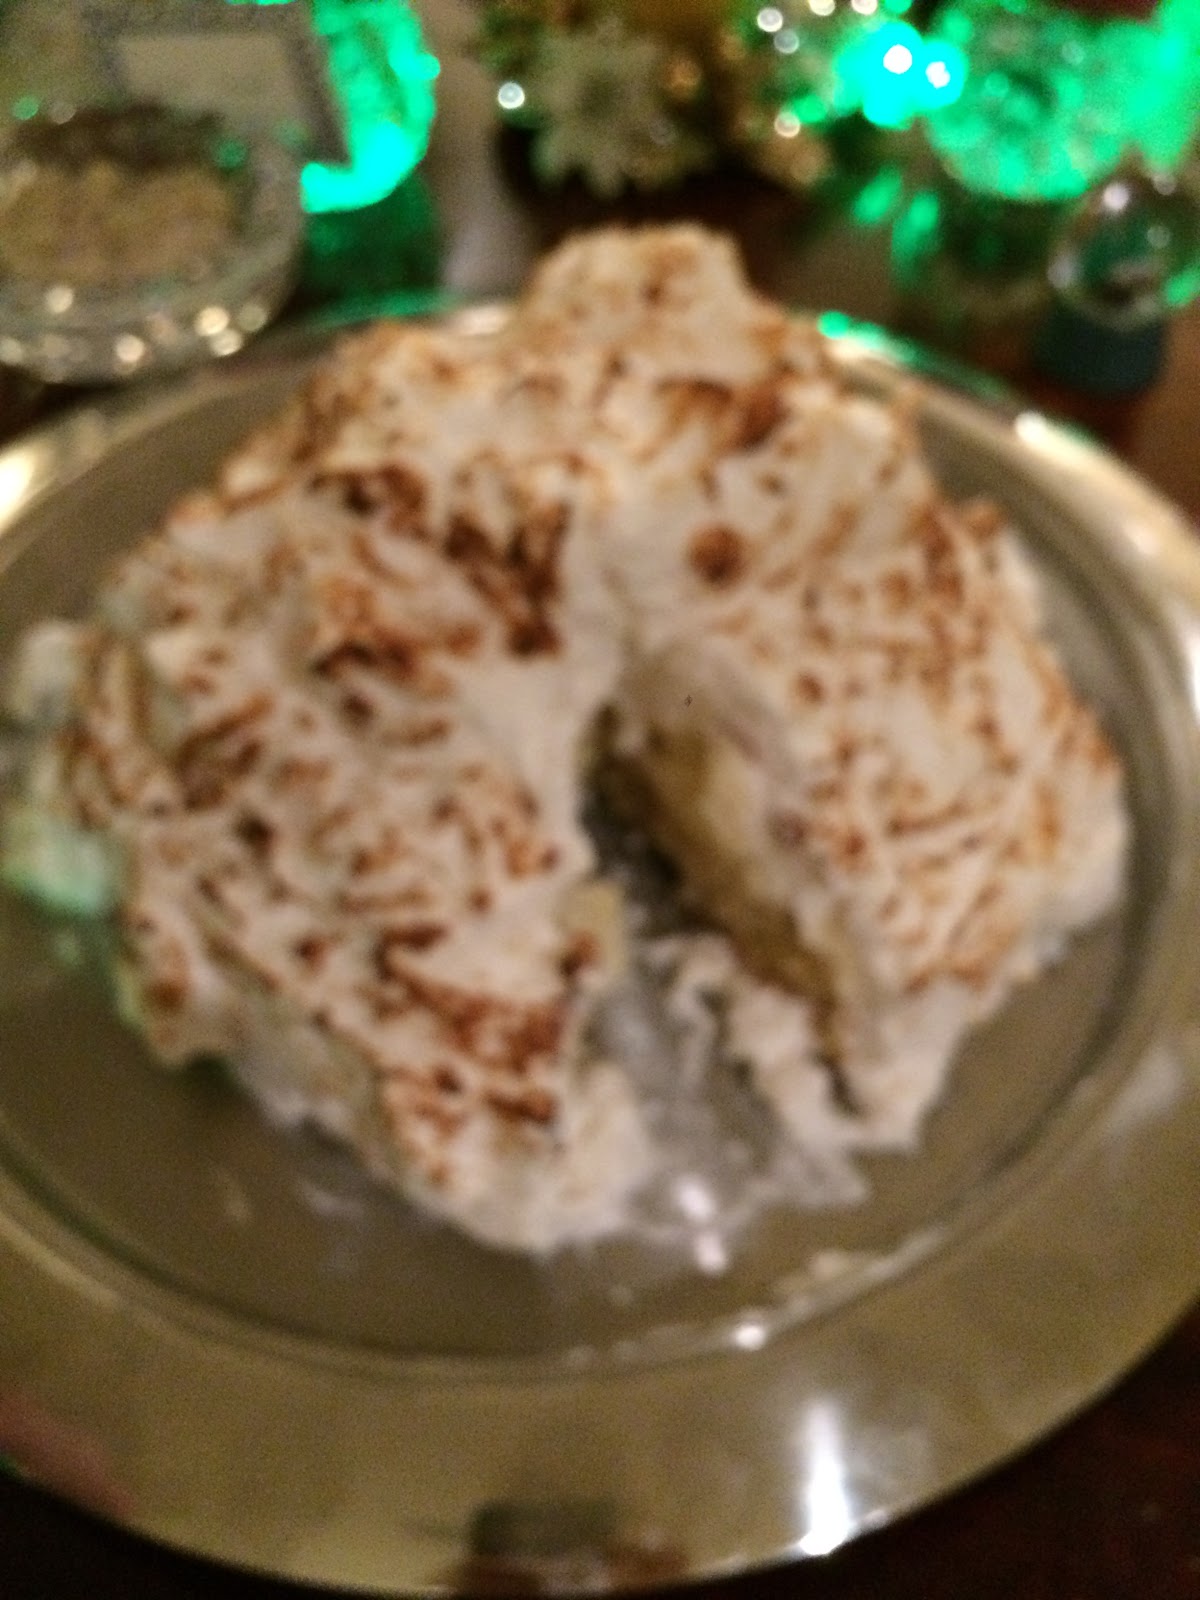
Here is my step by step prep for a glamorous Baked Alaska:
I spread the homemade ice cream on top of the cake - directly onto the temperature-seasoned serving tray (from
Frontage Hot/Cold Serving Tray)
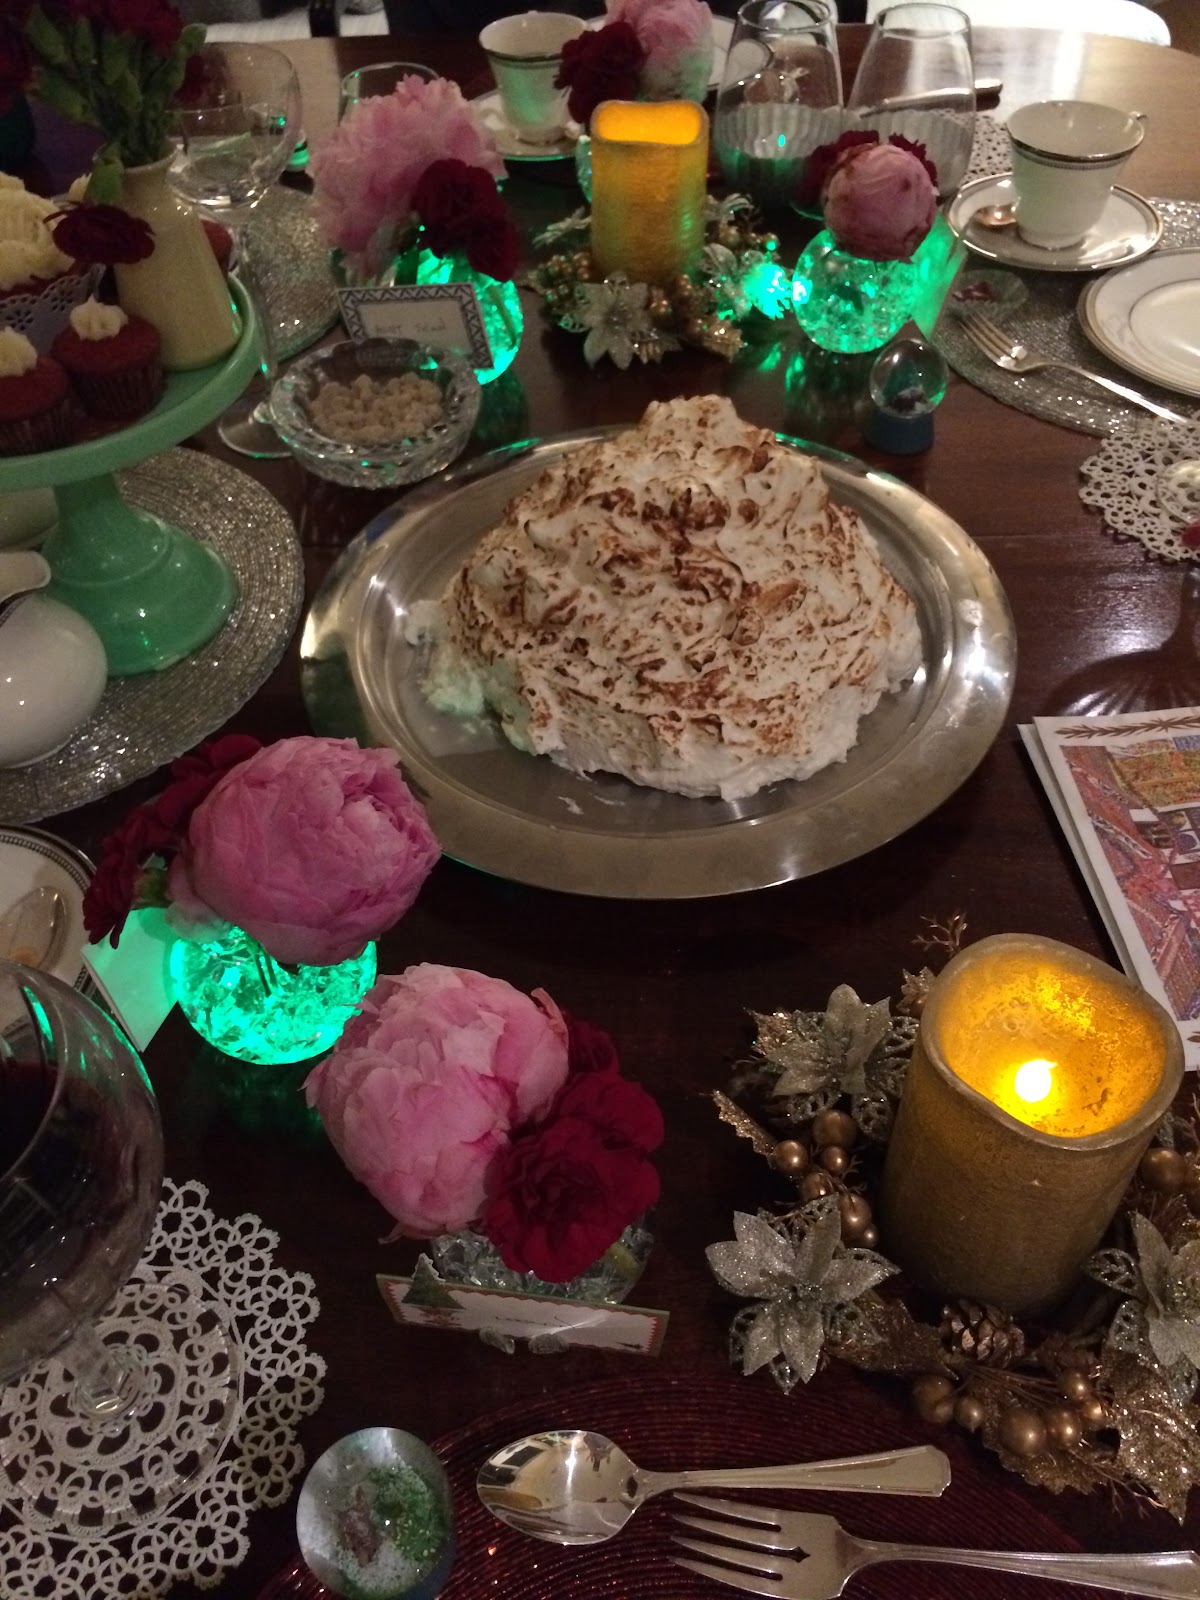
Baked Alaska is the star of any tablescape
Delicious too...
Baked Alaska: photo courtesy of Bernzomatic Blowtorches
Take a bow.